Travis 自动布署 Hugo Github Page
Contents
GitHub 大名鼎鼎,免费代码托管平台。
Hugo 是golang写的一个静态BLOG程序,目前非常火爆。
Travis是支持Github自动化CI的一个利器,免费实用。
三者结合起来,一个持续更新自动布署的Blog就此诞生
GitHub 创建个人page项目
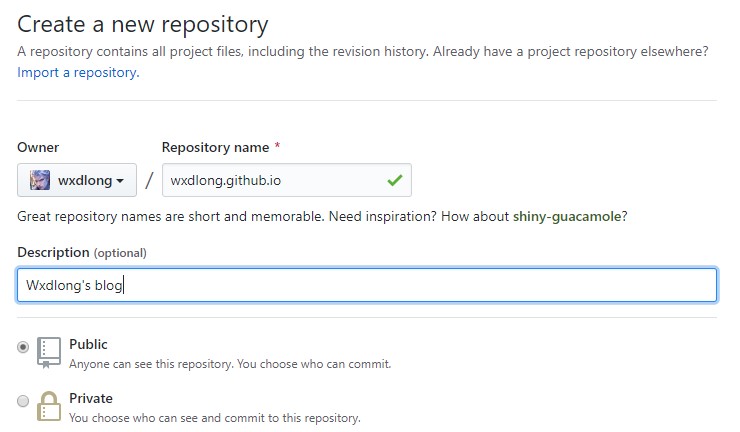
创建一个名为
<githubname>.github.io的repo.
个人项目page只能布署在master分支上。 所以我们可以将代码上传到blog分支。然后利用Travis push到master上。
1
2
3
4
git checkout -b blog git branch --set-upstream-to=origin/blog blog 分支 blog 设置为跟踪来自 origin 的远程分支 blog。打开git/config 可以看到关联的branch
1
2
3
4
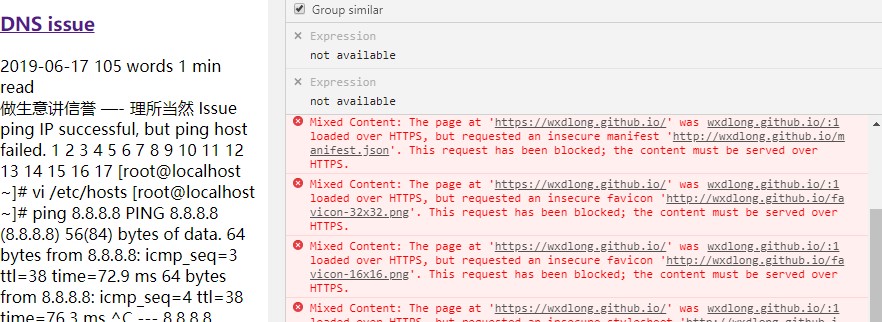
cat .git/config [branch "blog"] remote = origin merge = refs/heads/blogGithub默认己经强制使用HTTPS了。所以必须设置base_url=“https://wxdlong.github.io. 不然打开Blog加载不到CSS文件。像这样.

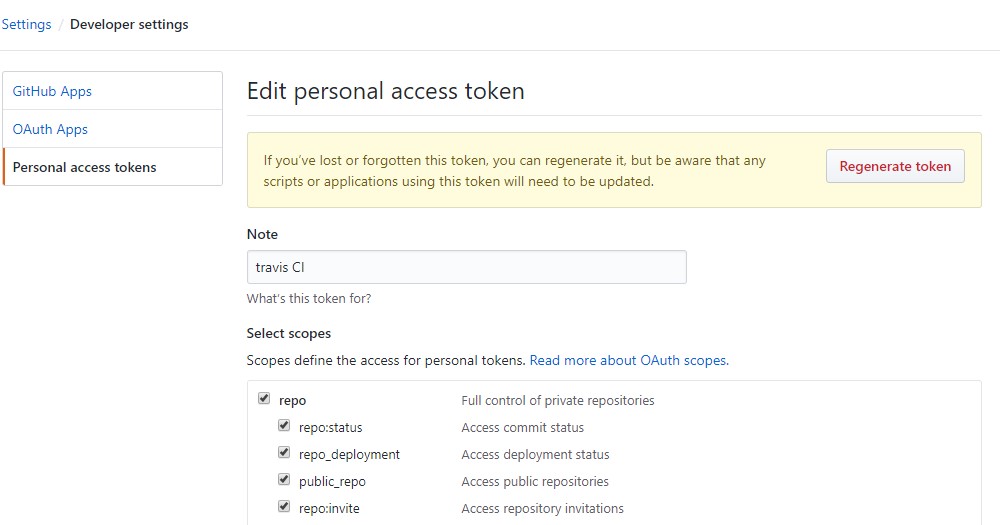
生成一个Token给Travis用。 https://github.com/settings/tokens

Travis 设置
一切尽在.travis.yml
1. 调用docker生成Hugo page再简单不过了。任你编译环境怎么不一样。支持Docker就这么简单。
配置环境变量GITHUB_TOKEN.

先不用配置
fqdn,除非你看了下面正定义域名章节1 2 3 4 5 6 7 8 9 10 11 12 13 14 15 16 17 18 19 20 21 22 23 24 25 26 27services: - docker before_install: - echo "before install" - ls -lth themes install: - echo "install- ${PWD}" - docker run -it --rm -v ${PWD}:/code wxdlong/hugo ## use docker build script: - echo "script" after_success: - echo "after_success" - ls -lth ## you can see hugo public generatored in the delpoy log deploy: provider: pages ## github pages github-token: $GITHUB_TOKEN ## need conifg in setting local-dir: public ##hugo deploy dir target-branch: master skip_cleanup: true fqdn: https://ycat.top ##customer DNS on: branch: blog ## when branch blog push
自定义域名
配置DNS解析。加上GITHUB的4个A地址IP就行
185.199.111.153,185.199.110.153,185.199.109.153,185.199.108.153. 所有的Github Page都是这么配置的哟.
当你配置了自定义域名后可以在
.travis.yml加上fqdn。然后github会自动在提交的根目录下创建一个CNAME文件。CNAME里的内容就是你的域名
Author wxdlong
LastMod 2019-08-04